In fast-paced shops and job sites, time is money, and no one’s looking to waste either. But when it comes to abrasive wheels, skipping safety checks can turn that tight schedule into a very expensive mistake. Before you ever hear that wheel spin up, it needs to pass a few critical tests.
Why? Because these wheels aren’t just spinning lazily in the background. They’re flying, literally, at thousands of revolutions per minute. One hidden crack or a bit of imbalance? That’s all it takes to send shards across the room or shake your machine into early retirement. But don’t worry – the team here at BoltCraft will walk you through how to test your abrasive wheel before use.
Key Takeaways
- Always perform a ring test to detect hidden cracks before mounting an abrasive wheel.
- Use a static balance test for wheels over 125 mm or operating above 16 m/s to ensure smooth, safe rotation.
- A trial run is essential after mounting to confirm secure installation and catch any last-minute issues.
- Testing abrasive wheels isn’t optional, it’s required by OSHA and ANSI standards for workplace safety.
- Proper training and consistent documentation help build a safety-first culture that protects people and equipment.
- BoltCraft offers high-quality abrasive wheels that are tested, reliable, and ready to ship when you need them most.
Why Safety Checks Are Essential Before Use
You don’t need a horror story to appreciate the stakes, but here’s the thing: every time you fire up a grinder without testing the wheel, you’re betting against physics. And physics always wins. Even the best-made wheels can crack in storage or become unbalanced after a few months of sitting on a shelf. Potential risks of using a damaged or unbalanced wheel:
- A cracked wheel can disintegrate mid-spin, catastrophic for both equipment and the person standing in front of it.
- A wobbly or poorly balanced wheel leads to vibration that can strip accuracy, damage machinery, or wear you down over time.
- Misalignment doesn’t just feel wrong, it eats away at productivity and puts your reputation on the line.
In short: a bad wheel can cost more than a broken tool. It can cost your team’s safety and your bottom line.
Legal and Workplace Safety Requirements
Yes, there are regulations. OSHA and ANSI both lay out clear rules. If you’re managing a team or running a shop, you’ve probably had to sit through a few training sessions on it. So consider testing abrasive wheels not just good practice, but required protocol in most industries.
Overview of Required Abrasive Wheel Tests
Alright, let’s cut through the fluff. There are three basic checks you should be doing, depending on your wheel size and application:
- Ring Test – Think of this like tapping a glass to check for cracks. It tells you if the wheel has hidden structural damage.
- Static Balance Test – This one makes sure the wheel spins evenly without wobbling like a bad tire.
- Trial Run – A brief spin-up after mounting to ensure everything’s locked in and sounding right.
When Each Test Is Appropriate
- Ring Test: Do it every single time before mounting a vitrified wheel. No exceptions.
- Static Balance: Only needed for the bigger or faster boys, wheels over 125 mm or running at speeds above 16 m/s.
- Trial Run: Always. Especially if you value your tools, your team, or your eardrums.
Who Should Perform These Tests
Ideally? Trained hands. Someone who’s not just checking boxes but actually understands what “off” sounds or feels like. Operators, techs, safety leads, it’s a team effort. But don’t push this on the intern with a five-minute tutorial and expect miracles.
Ring Test: Detecting Hidden Damage
This is your first line of defense. You’re listening for the truth, literally. A clean, undamaged wheel will “sing” when tapped. A cracked one? It’ll give you a dull thud like a wet sponge.
How Internal Cracks Pose Safety Hazards
Cracks are sneaky. They don’t show up on the surface, but once the RPMs climb, they’ll expose themselves, usually with a bang. The wheel can fracture violently, causing serious injury or worse. That’s why this isn’t optional, it’s critical.
Step-by-Step Guide to Performing a Ring Test
Maybe you’re swapping wheels on a tight schedule. Maybe it’s the same box you used last month. Still, test it. Conditions change. Humidity, storage, a forklift bump, any of these can introduce microfractures you won’t see. But you’ll definitely feel them if they fail mid-job. Here’s how we do it:
- First things first, make sure the wheel is totally dry and free of any gunk.
- Hang it gently on a pin, bolt, or any solid horizontal rod. Not metal-on-metal, please.
- Take a non-metallic object, wooden mallet, screwdriver handle, and lightly tap the wheel.
- Aim 1 to 2 inches from the edge, about 45 degrees from the vertical centerline.
- Rotate the wheel 45 degrees and repeat all the way around.
Simple? Yes. But effective? Absolutely.
Interpreting Ring Test Results
- A nice, clear ping means the wheel is likely good to go.
- A dull, flat tone? You’ve got a cracked wheel. Don’t second guess it, pull it from use.
Static Balance Test: Ensuring Safe Wheel Operation
This one’s about stability. A well-balanced wheel rotates smoothly. An unbalanced one feels off, vibrates like an unbalanced laundry machine, and messes with everything from cut precision to your nerves. Here’s a quick rundown:
- Use a balancing arbor and a level surface
- Mount the wheel and let it spin freely
- If the same spot always ends up at the bottom, it’s heavier, and the wheel’s out of balance
Signs that a wheel is not balanced:
- Repetitive stopping in the same spot
- Side-to-side wobble
- Humming, buzzing, or “off” sounds at speed
Some wheels can be balanced using weights or by shifting the flanges slightly. Others? Not worth the hassle. If your fix doesn’t stick after two tries, toss it. You’ll spend more time fighting the problem than fixing it.
Trial Run: Final Safety Check After Mounting
We’ve all been there, short on time, behind schedule, trying to get the machine fired up and moving. But skipping a trial run on an abrasive wheel? That’s a gamble we just don’t recommend. A trial run is your final defense before that wheel hits material. Even if you’ve done everything right, ring test, balance check, this last step confirms that nothing went sideways during mounting.
Because yes, sometimes things shift. Sometimes a wheel doesn’t seat right. And sometimes a brand-new wheel has a flaw you couldn’t spot until it’s spinning at full speed. Think of the trial run as the final interview before hiring a wheel to do the job. Better to find out it’s not up for the task before it gets to work.
Performing a Trial Run Safely
So how do you do it right? No guesswork, just a clear, safe process:
- First things first, mount the wheel securely, following the manufacturer’s instructions like your safety depends on it (because it does).
- Double-check the guard. No guard, no go.
- Stand away from the wheel’s rotation path. Not beside it. Not in front of it. Give it room.
- Power it up with no load, don’t rush it.
- Let it run for at least 3 minutes the first time you mount a wheel and at least 1 minute before any grinding work.
You’re not just waiting around, you’re giving the machine time to tell you if something’s off.
What to Watch For During a Trial Run
Now, keep your ears open and eyes sharp. Here’s what you want, and don’t want, to notice:
- Smooth, clean rotation. No wobbling. No sudden jerks.
- A steady, even hum. If it starts sounding like a blender full of gravel, you’ve got a problem.
- Silence in the vibration department. Rattles are red flags.
Catch anything weird? Shut it down immediately. Recheck the mounting. Inspect the wheel. Don’t convince yourself it’s “probably fine”, that’s how accidents happen. And in this line of work, one bad call can lead to serious injuries, lost time, and a whole lot of regret.
Best Practices for Abrasive Wheel Safety
Want to build a safety-first culture that doesn’t feel like red tape? Start here:
- Document every test, yes, every single one. It’s your insurance policy if things go south.
- If a wheel doesn’t pass, even by a hair, replace it. Don’t try to “make it work.”
- Train your team, don’t just hand them a manual. Walk through real scenarios.
- Store your wheels with care. A tossed wheel is a compromised wheel.
Different shops have different workflows, but these practices travel well, whether you’re running a small fab shop or a large production floor.
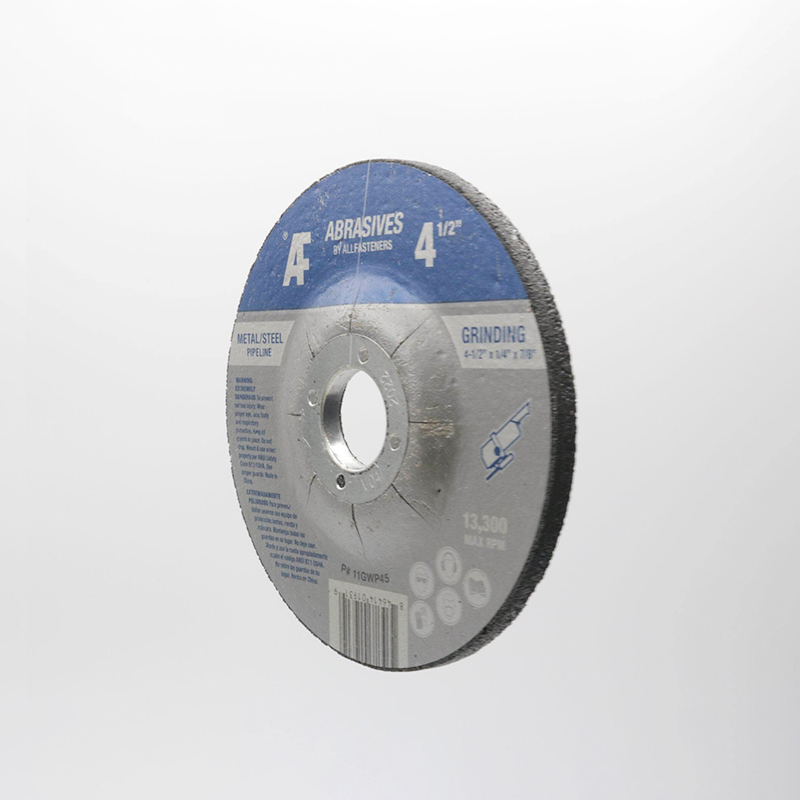
Get High-Quality Abrasive Wheels from BoltCraft
At BoltCraft, we know you need abrasive wheels that perform reliably without breaking the bank. That’s why we offer top-quality wheels engineered for safety, durability, and precision, all at competitive prices. Whether you’re grinding, cutting, or finishing, our selection is designed to meet your needs across industries.
Better yet, our products are in stock and ready to ship, so you don’t have to wait around when time is tight. With BoltCraft, you get the right wheel, right when you need it, quality and value, backed by fast, dependable delivery every time.
Recap: What Tests Need To Be Performed on Abrasive Wheels
At the end of the day, abrasive wheels are workhorses, but they’re not invincible. And neither are we. Testing isn’t bureaucracy, it’s protection. Each check, ring test, static balance, and trial run, catches something different. Together, they form a complete picture.
We’re not saying you need to run a safety seminar before every grind. But building habits? That’s powerful. When safety becomes second nature, wheels last longer, injuries drop, and work gets done without the stress. So yeah, that extra minute or two for a trial run? It’s more than worth it, and if your old abrasive wheel isn’t up to par, we carry high-quality abrasive wheels ready to ship, just reach out or order through our storefront.